Cambo Reflex Mirror
A dark cloth can be disturbing for people with hair and lesser hair aswell, especially when making images of handsome females :-)
This Cambo monocular hood can be adapted for the Speed Graphic by Fons de Vries.

Cambo Reflex Mirror
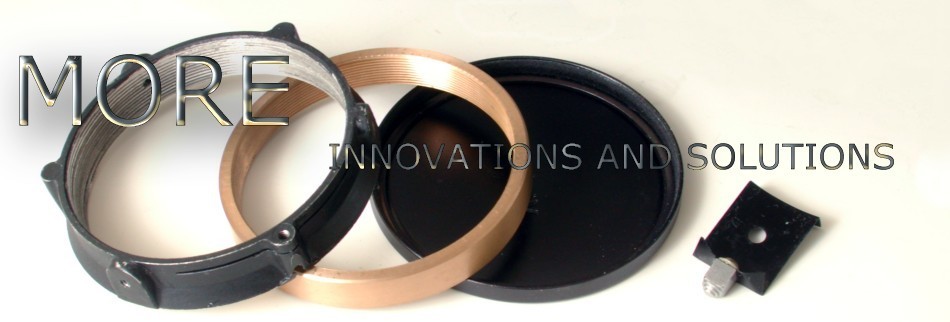
The part with the yellow dot is the custom made adapter.
by Fons de Vries

Cambo Reflex Mirror
The part with the yellow dot is the custom made adapter.
by Fons de Vries.
Cambo monocular reflex viewing hood and adapter.
|  |
ADAPTED REFLEX MIRROR VIEWER
by Fons de Vries
This lightweight, monocular reflex hood's unique design features a right angle viewer that rotates 360° to accommodate different camera heights. Look down through it during low camera setups and then just twist it to adjust for high setups. Because it is so compact and lightweight, you can leave it on the camera during film insertion and exposure so it's always ready for your next shot. It's also perfect for copystand applications.
Mounts quickly to your ground glass back, locking securely in place with a single sliding lever. The 2.5X magnifier enhances both composing and focusing, while an optional Fresnel lens provides the brightest possible viewing over the entire image area. The soft rubber eyepiece also eliminates extraneous light, adds comfort during use and protects glasses from scratching.
Sofar for the description but how to adapt it for your Speed graphic?
Fons de Vries can do it for you!
|