 |

 How huge is it? How huge is it?
It's... BIG allright!
|
 In progress....
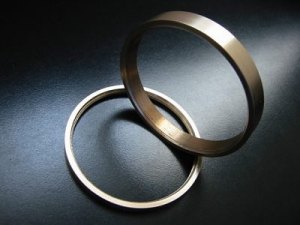
#I Spacer and retaining ring The whole project was discussed by extensive phone and E-mail communication with Jo Lommen (Jo is an expert on restoring Press Cameras and much more.)in Roermond (NL). This was a very important start after buying the Aero Ektar EE*****. We looked over different possibilities to mount the beast. In our pursuit we've found images of David Burnett and came in contact. As David kindly shared photographs of his own configuration, we decided to go for this solution.
In our minds this was not extremely difficult to do but...
|
 In progress....
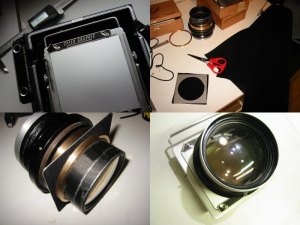
#II The lensboard Construction.
The material used was brushed aluminium with a thickness of 1mm
|
 In progress....
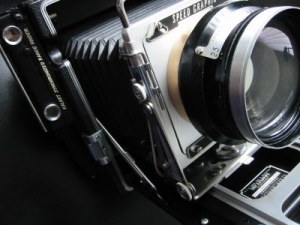
#III The mounting.
After assembling the Aero on the lensboard, the next step is placing the board on the camera. |
 In progress....
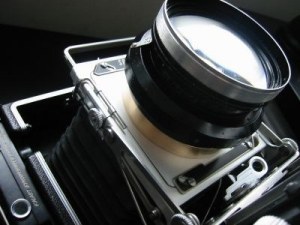
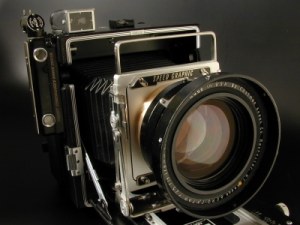
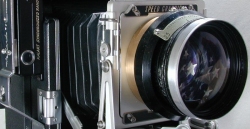
#III The mounting... Another Image showing the happy marriage between the Pacemaker Speed and the Aero.
|
 Showdown...
#II The result A fantastic job done by Jo Lommen. What a shame you can not hear the shutter ....or can you? Our slogan "Resuscitate the Machine " has been followed to the letter. The Pacemaker Speed Graphic, stowed away for more than 40 years in a humid basement, has been overhauled and given a new lens (1944). Now in 2005 seeing daylight again it is ready to compete..in a world full of "all singing, all dancing cameras" and other digital paraphernalia.
|

As you probably understand by now, this shopping list is not intended for your local Mall. Instead you have to search for The Speed Graphic and the Aero Ektar as well the Mask no 2.
The spacer, retaining ring and drilled lenshole will add some more difficulties.
It takes a while to get it and a long while to get it right...
Burnett Combo
What do I need to build the Aero Ektar - Speed Graphic:


Jan, 25 th 2006
We would like to receive E-mail addresses of owners/users of the Burnett Combo for our Newsletter.
It would be nice to share tips and experience.
Assign by E-mail with Your name, Experience, background,E-mail and send a portrait together with your Aero/Speed combo.
Click here to send your application.
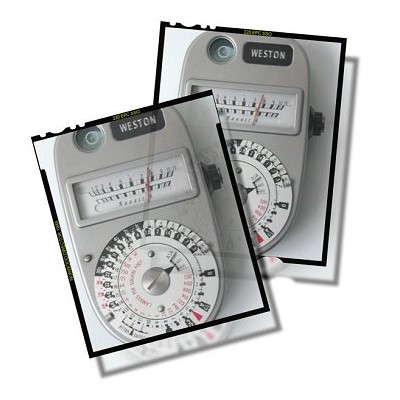 Next we will test the effective aperture. Is it still f2.5 or is the browning in the last element a factor in decreasing the actual speed?
Read on
Interested?
Want to join? - Send your commitment and experience..
Use our TalkBack button!
Have an Aero yourself, want to mount it?
Need a Lensboard?
Use the TalkBack button!
 Legal!
About
Whois
Aldis
Aero Project
Legal!
About
Whois
Aldis
Aero Project
 The Workout
Memorandum
Encounter...
Graflens
Lenses+
Holes+
My Pacemaker SG's
Books
Graflinks
Speedlights
Gallery
WICF
Contact
Filmholders
Start Page
Whatsnew
The Workout
Memorandum
Encounter...
Graflens
Lenses+
Holes+
My Pacemaker SG's
Books
Graflinks
Speedlights
Gallery
WICF
Contact
Filmholders
Start Page
Whatsnew